Production

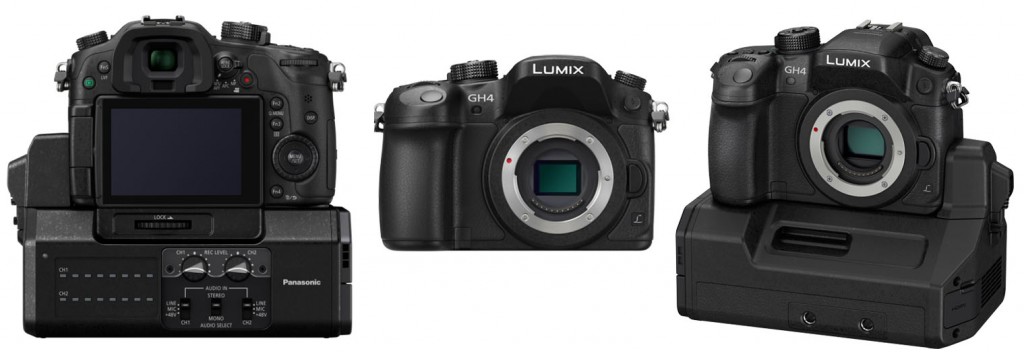
GH4 Officially Pre-ordered

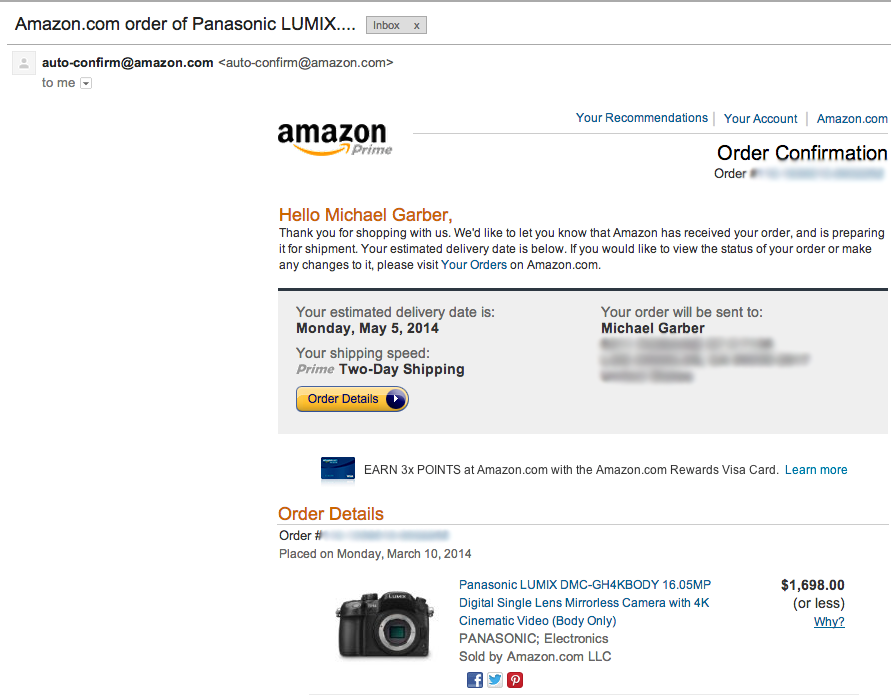
GH4 Invoice

As I  mentioned in my last post, I’ve officailly  pre-ordered the GH4. I was a little worried at first because it wasn’t available on Amazon last night. But at about 9AM PST, it came online. Now for the long wait!

Hopefully, it’ll actually arrive close to the promised date. The date happens to be very close to my birthday, so I’ll consider this my gift to myself this year!

Panasonic GH4 Available for Pre-Order tonight at Midnight!

GH4 Release

Exciting news today in the Panasonic GH-world! According to rumor sites, tonight marks the opening of pre-orders for the GH4.

Panasonic Lumix DMC-GH4 Camera Body, Black with DMW-YAGH Pro Audio Video Interface Unit $3298

Panasonic Lumix DMC-GH4 Mirrorless Digital Camera Body Only, Black – with 4K Video Recording $1698

Panasonic LUMIX DMW-YAGH Interface Unit, Pro Audio Video Interface for LUMIX GH4 $1998

I’ve been going back and forth on what camera I should get to upgrade from my GH3 – Blackmagic 4k, GH4, Digital Bolex, etc…? The GH4 is, for me, the obvious choice.

For starters, it fits perfectly in my existing ecosystem of equipment. If the batteries and body are the exact same, then it will fit inside my cage. I won’t have to purchase new batteries. And if shooting in 4K is overkill, then I can use my current batch of SD cards to shoot in HD.

I am also very happy that Panny is using it’s own CMOS chip instead of the Sony chip in the GH3. I always felt the GH3 suffered from poor image quality. On a recent shoot, I was plagued by moire issues and skin tone issues. In order to get proper skin tones, I’ve found that you absolutely have to white balance to a gray or white card.

Last, I’m impressed that they are also offering the DCP 4k standard of 4096 x 2160. This will be nice for getting just a little more resolution on the edges.

Of course, it’s easy to get excited about new cameras based on specs alone. Time will tell how good the camera will be. But I have decided that this is the camera I’ll be getting and most likely I’ll be pre-ordering it tonight.

For deals on products from Adorama, check out this site:  verified.codes/Adorama

My mini-doc, “A Cemetery Remembered” is now online!

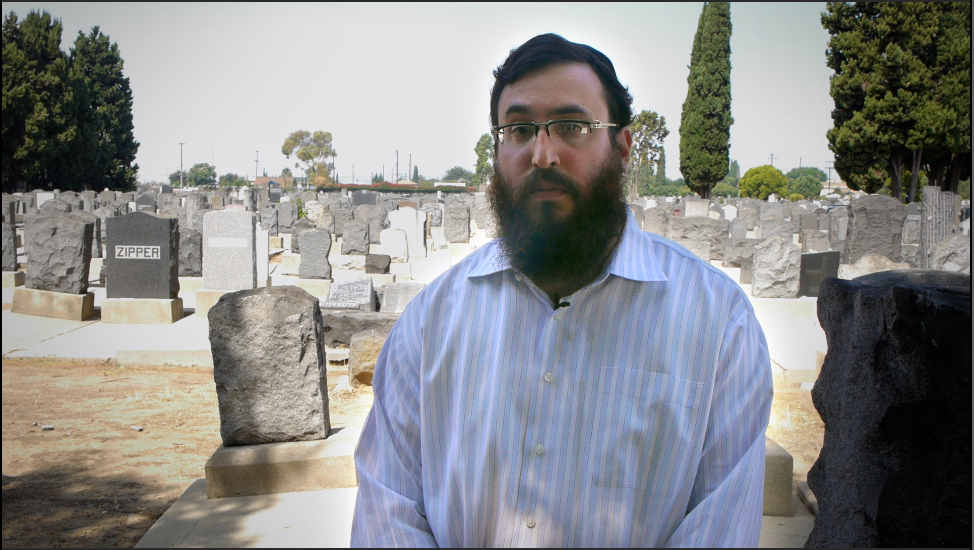
I’m pleased to present my latest short-form documentary, “A Cemetery Remembered.” As I’ve mentioned in previous posts, this was a passion project of mine that I started last summer in 2013. I read an article in the L.A. Times which recounted the story of Mt. Zion Cemetery. It is located in East Los Angeles and had fallen into disrepair. Because of the story in the Times, a grassroots campaign was started by a local rabbi to restore it.

I pitched the story around to a couple of people, but realized that this was a project that I needed to pursue on my own. Well, sort of on my own. I enlisted the help of my amazing fiancé/producer (prodancé? fian-ducer?), Tina Nguyen, to help me out on the shoot and the edit.

We shot over the course of one day with the following equipment:

  • Panasonic GH2
  • Sanken COS-11D
  • Rode VideoMic Pro
  • Roland R-26 Field Recorder
  • LED 900 light
  • Kessler Pocket Jib Traveler
  • GoPro (footage was not used in the final piece)
  • Gripper 3025 suction cup car mount. Used with the GH2.
  • My home-made shoulder rig (AKA, The Spider)

I edited the piece in FCP X so that I could use it as a test bed for a larger documentary or other non-narrative piece. I’m happy to say that FCP passed the test.

X is great for this kind of project. And this project had it all: synced dailies from non-jam synced second source audio, multiclips, footage from different codecs, DSLR video, proxies, extreme color correction with lots of power windows and tracking, camera stabilization. I was even working off of a portable bus-powered $120 Buffalo Thunderbolt HD and moved between two systems.

I started the project late last year in 10.0.8 and then upgraded to 10.1 in December. The new Library-based system works extremely well. I finally feel that my hard drives, and consequently my own brain cells, are organized.

Backing up is simple and effective. I employed the use of Timeline Snapshots as daily backups of my sequences in addition to FCP’s built-in system of backing up (which, thankfully, I never had to use). The camera footage was backed up on a larger RAID.

Because of working on projects like this over the past year, I now feel 110% comfortable in the magnetic timeline. I can work as fast, if not faster, than 7. The key here is to create the dialogue audio bed first (the radio cut), then add music and b-roll. The radio cut generally drives the story and the music and b-roll support it.

Once everything is generally worked out in the timeline, the fine detail work begins. It’s then very easy to move sections and soundbites around without causing music which resides later in the timeline to go out of sync.

On this project, I would change the clip connection point of music generally to the second shot, since the first shot would have been an outgoing shot of the previous scene. When you get used to the magnetic timeline you start to think about relationships between clips. In doing so, you begin to think about story as opposed to what clip goes on what track.
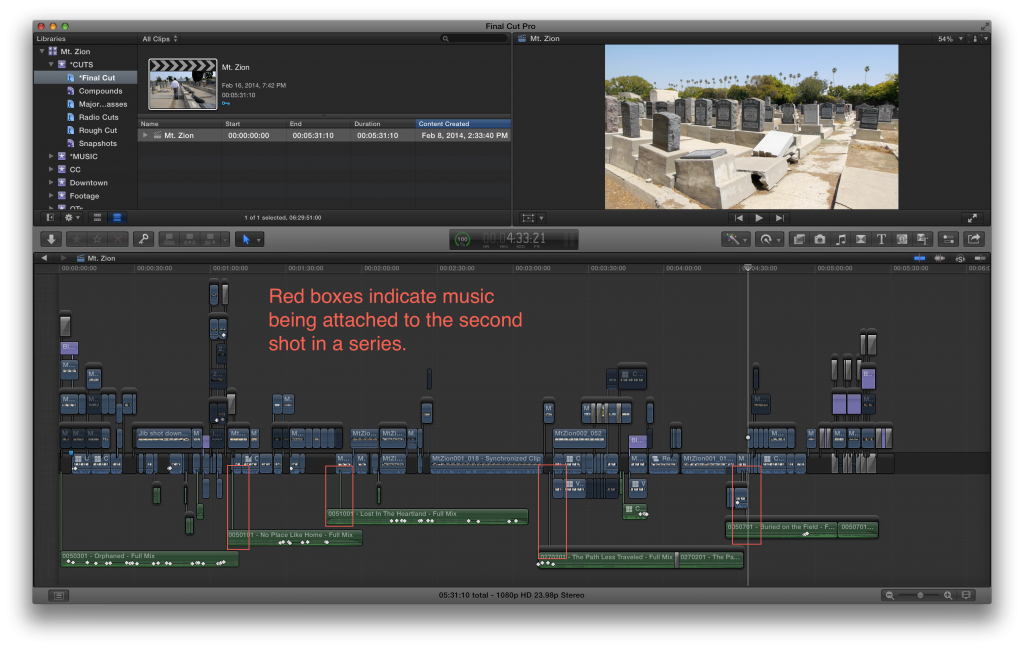
Cemetery Remembered Timeline

X still has its issues and there are most certainly some major areas waiting for improvement. My two biggest request are as follows. I hope that Apple comes up with a way to organize audio clips based on roles. I’d also like to see a way to move the active clip indicator (that little white dot on top of clips) up and down so that you can edit with the keyboard more effectively in secondary storylines. There are also general responsiveness and playback issues that need to be fixed.

The good news is that, with the 10.1 update, I can clearly see Apple’s direction here and it’s all good. There is very little I cannot do with the app. Where there are problem areas in the software, I now have solid workarounds. We have clearly moved well beyond the days where I couldn’t work due to bugs. I’m now experiencing the opposite. I have so much control over the footage that I didn’t know where to stop!

All-in-all this was a great experience and I look forward to using the knowledge I gained on this short-form piece on longer projects.

I owe a huge debt of gratitude to Uncommon Library, who donated all the music tracks heard in this video. Their music can be licensed at uncommonlibrary.com. Please check them out and license some music from them!

More info on the restoration can be found at restoremtzion.com.
To quote GLaDOS…

“It’s been a looong time.” Sorry but things have been a little nutty ’round the ol’ Garbershop lately. I’ve been traveling around Cali on business and also have a shoot coming up this week in Bakersfield for a high-end corporate client.

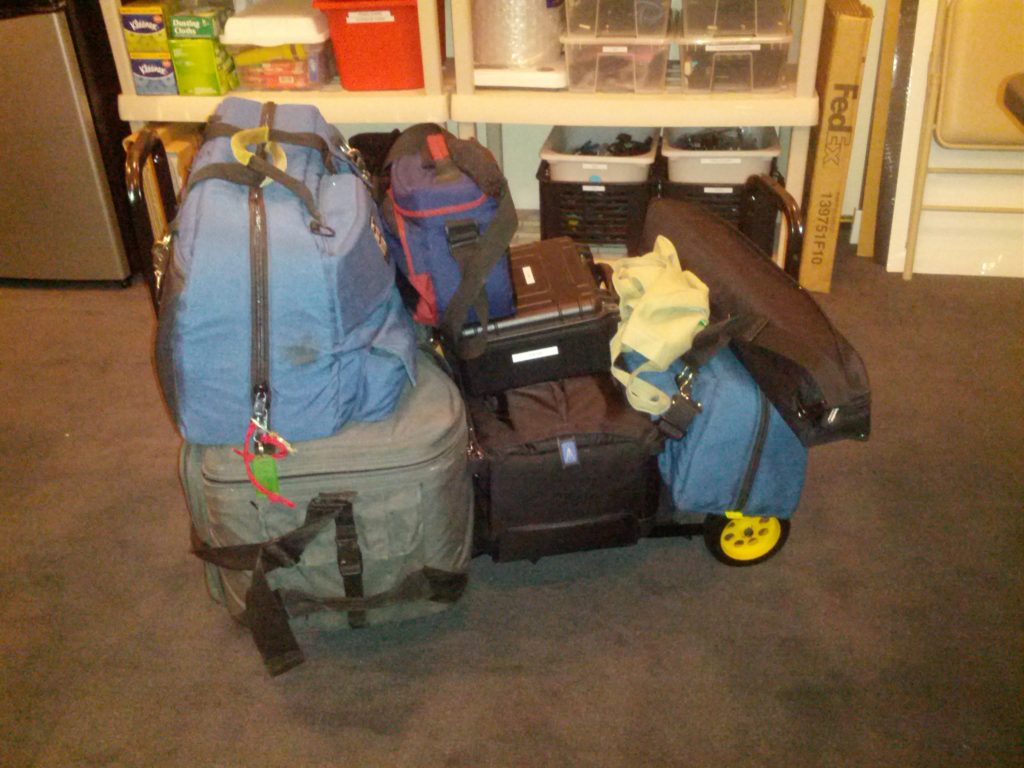
I’m very excited about the shoot. It will be the first time I’ll be using my entire kit of gear. Here’s a tease of one of the carts.

Camera

We were also able to hire on an AC/DP who will basically be a “second me” on set. He’s knowledgable about DSLRs, REDs, DIT work, etc… I look forward to working with him.

Unfortunately I’m not sure how much of the video I’ll be able to show. Hopefully I can post a segment or two once it’s complete.

If I have a chance to post from set or during Thanksgiving week, I’ll send some updates on how the shoot went.

Me and “CrazyRig”

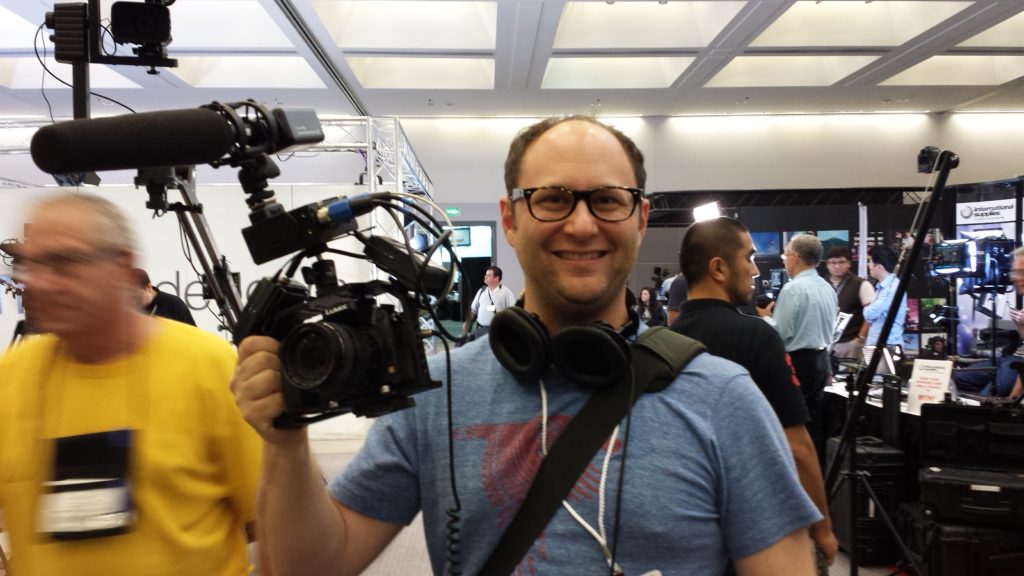
Thanks to Emm from CheesyCam for sending the pic he took of me and my newly dubbed “CrazyRig.” For those curious, it consists of the following:

  • Panasonic GH3 with 12-35mm f2.8 Lens
  • Honu Fhugen Cage (which is awesome)
  • JuicedLink RM202
  • Sony V5 Headphones
  • Two Sennheiser G3 receivers
  • Sennheiser 416 mic with an SKP-300 butt plug.

Yeah, I said butt plug.

20130925_142437

Bloggin’ around at DV Expo West 2013

I spent the day today at DV Expo 2013 at the LA Convention Center. While it was pretty sparse at the convention this year, I highly recommend you come out and meet the reps and manufacturers of some of your favorite products. It’s also great to get hands on demos of gear, such as the Movi.

Since I’ve been building out my GH3 cage rig, I decided to give it a test drive and perform some interviews and product demos with the vendors. I stopped off for a quick chat with Alzo Video, Adobe, Freefly, Beechtech, and Redrock Micro. I’ll post videos here as I time permits.

Also, it was great bumping into Emm from CheesyCam. We had a fun time making fun of me and my crazy rig with my 416 perched on top! 😉 I’ll post a pic here soon.

DVE13_WebHeader_V3opt

To Jib or Not to Jib?

As I mentioned a couple weeks ago, I’m considering adding a small jib to my rig. There are lots of options out there, from cheaper carbon fiber ones to more expensive solutions that have a built in pan head.

Some have a way to tilt the camera, which I think is quite necessary. The ones that don’t tilt the camera are generally cheaper and very light. They are considered “travel jibs.” Those models also allow for the extension of the back end that allows for using less counter-weight.

Right now, it’s down to three options, all have positives and negatives. I’m looking for the best value – something that doesn’t cost an arm and a leg and will provide excellent results.

Kessler KC-Lite 8.0

Kessler Pocket Jib

Varavon T3

Has anyone had experience with these jibs? Any recommendations? Feel free to post your comments and recommendations below.